My Experience with the Pollinator Patch Program
OSEAN’s pollinator patch program distributes free native plants across all of Ottawa South. They are taking action in giving food through their plants to plenty of bees, butterflies, birds and other pollinators. OSEAN’s Pollinator Patch Program has come to our school, and helped us prepare and grow our own native plants that would be distributed throughout the community. This blog post will explain more about my experience with the Pollinator Patch Program, and what I learned from participating!
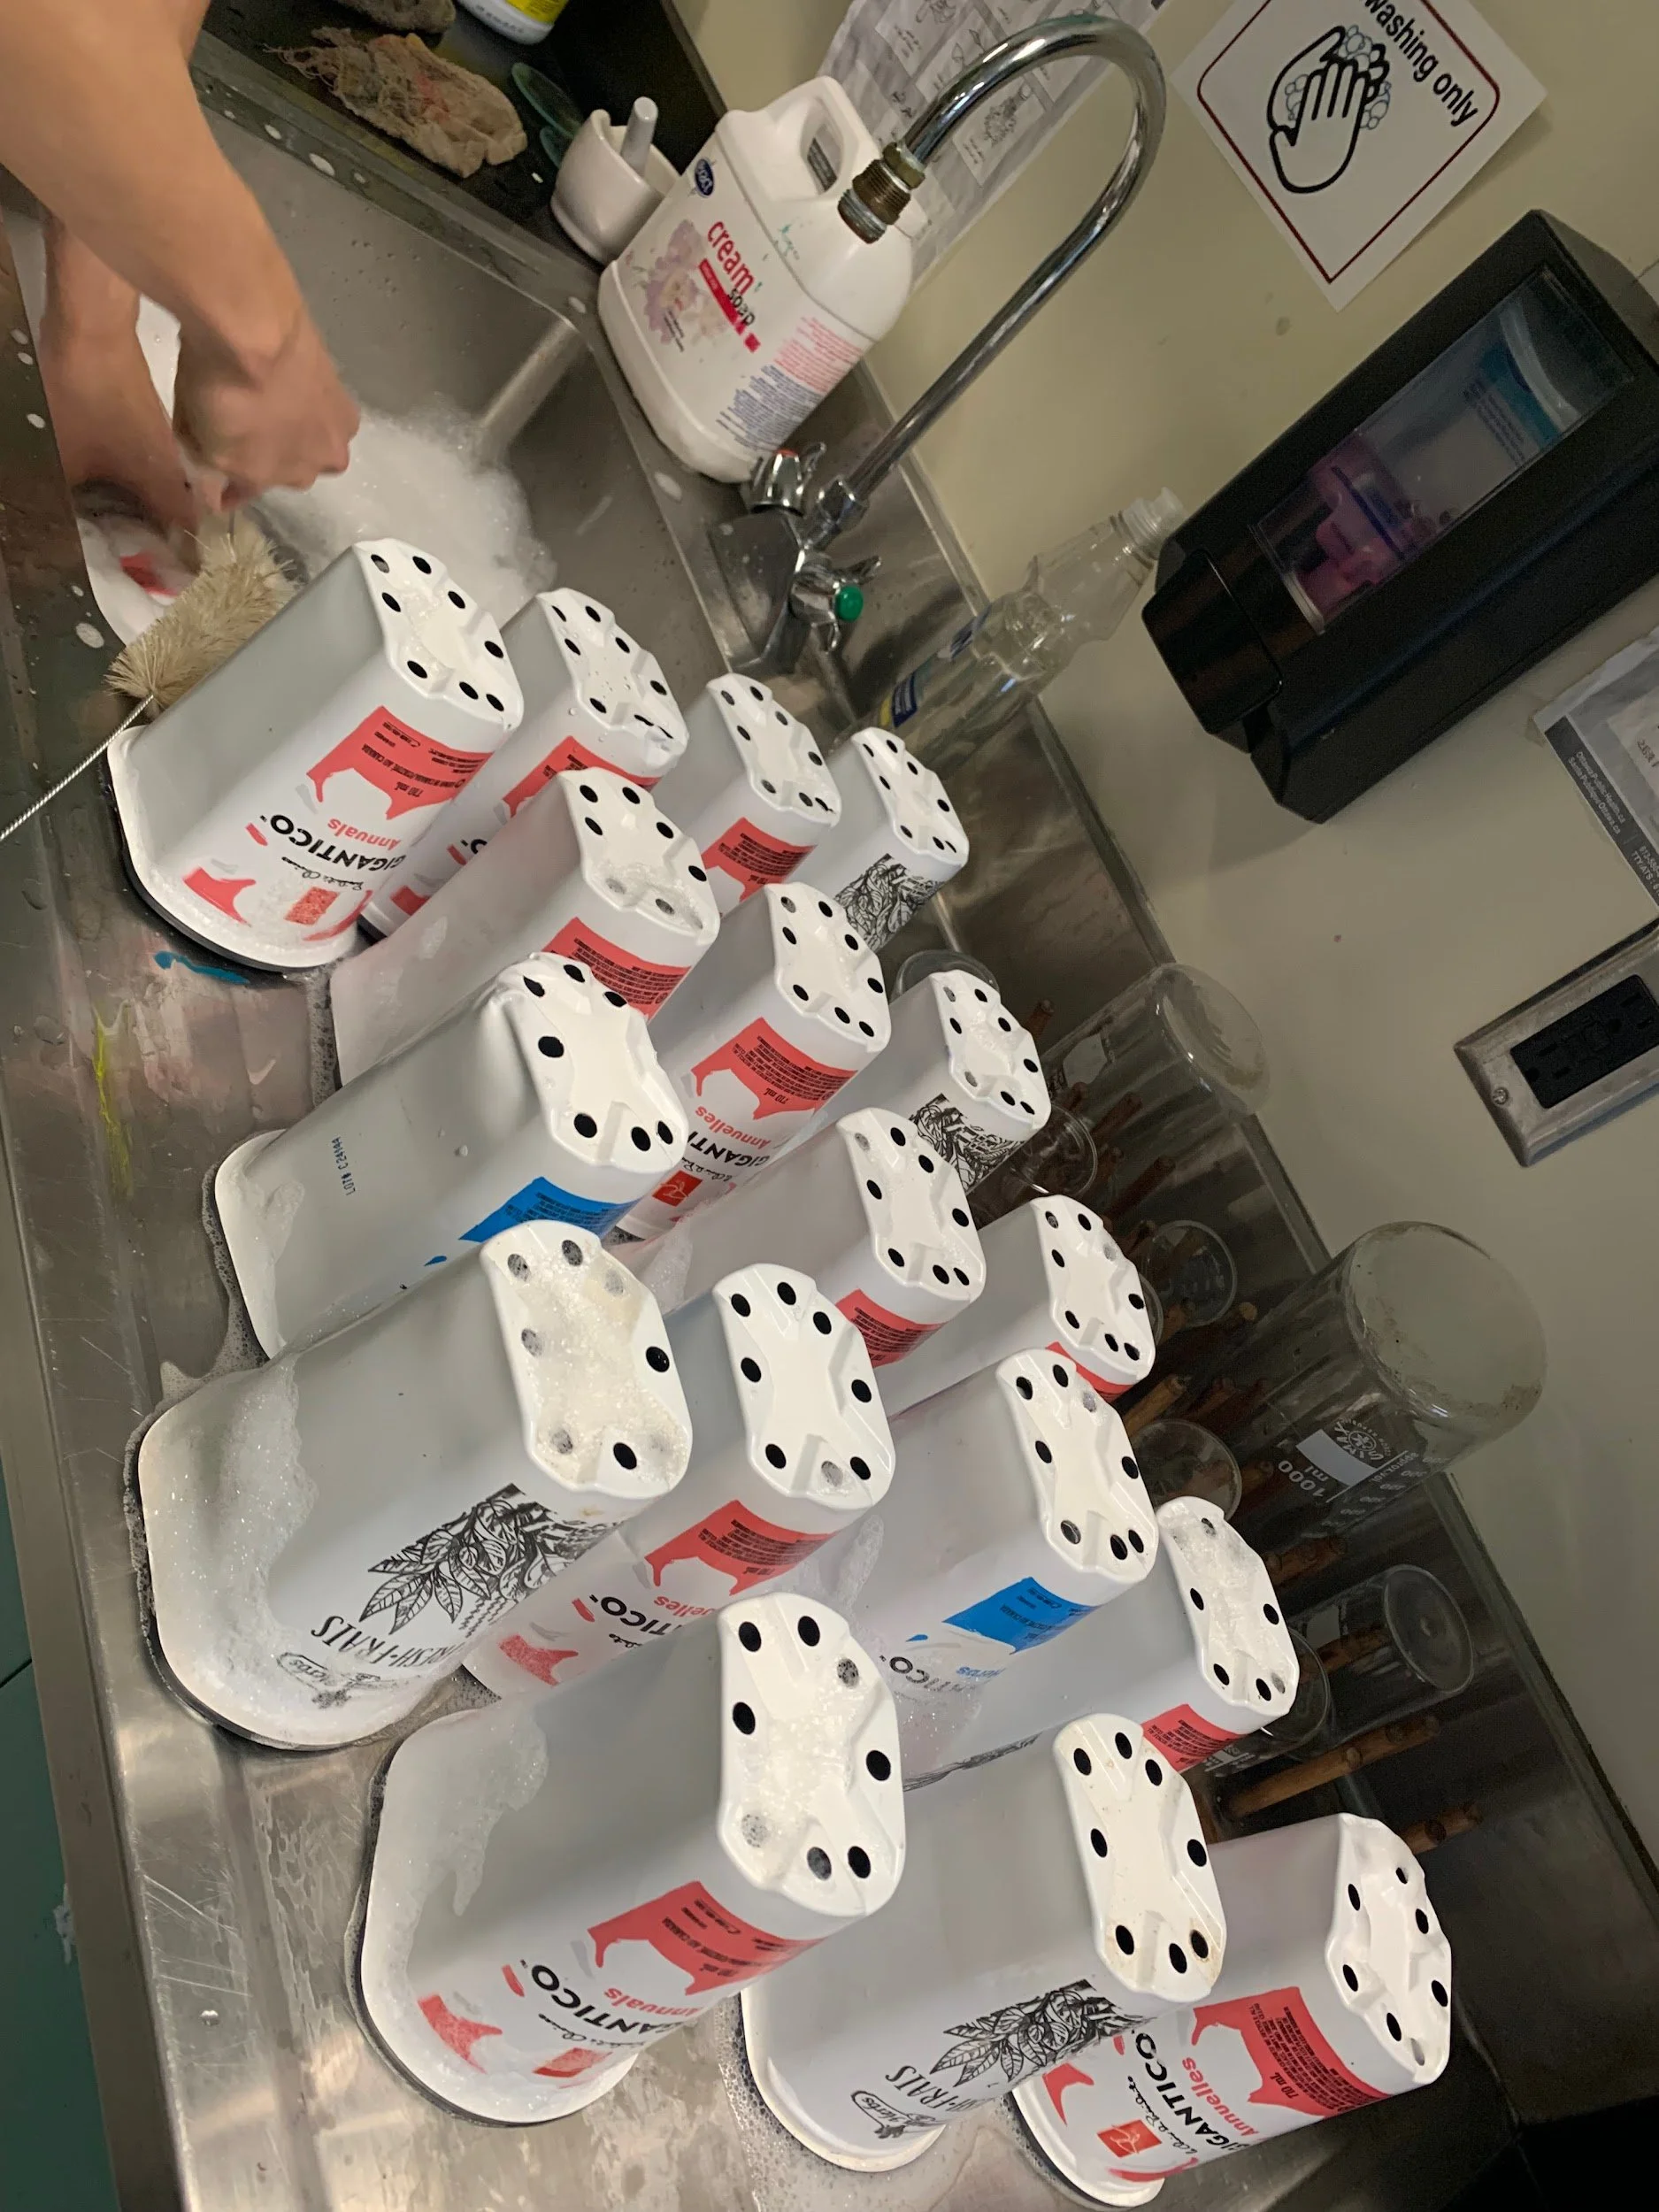
To begin, what we learned on the first day was sanitising the pots for the future seedlings to grow into. I remember one of the questions that I asked was what was the point of sanitising the pots so thoroughly with bleach and soap if we were going to use them again? The answer to that question was to prevent fungal diseases and mould. Since the pots were donated, we don’t necessarily know where they used to be placed. For example, some of the pots could have been stored in warm or wet areas, which will increase the probability of that occurring, so we have to sterilize them with bleach in order to kill all of the bacteria. This was a very important answer, as I always thought that soil was simply soil, and people can simply just reuse the pots by adding more soil. However, that is not the case, as I am now open to a new perspective on the environment that the plant was surrounded by. This taught me to thoroughly rinse the pots whenever there is a change in the seasons, or every time I would like to switch my plants to a different pot.
Here are the steps to how the pots were cleaned:
Wash the pots to remove any dirt
Soak for 10 minutes in bleach solution of 2 TBSP (30 mL) concentrated / disinfecting / sanitizing bleach (8.25% sodium hypochlorite) per gallon (3.8 litres) of water.
Allow to dry before using
Another thing that we learned was how to package seeds using paper! Learn how to do it for yourself!
After the pots were cleaned, it was time to prepare the classroom for growing the native plants! The indoor beds and lights were being set up, while I was packing wet soil into the pots. The reason why I was supposed to pack the soil into the pots, was because when we have to start watering the seedlings, the soil will not be completely full, and will slowly pack itself down around the middle of the pot. Once the setting-up process was finished, we were able to proceed to start planting!
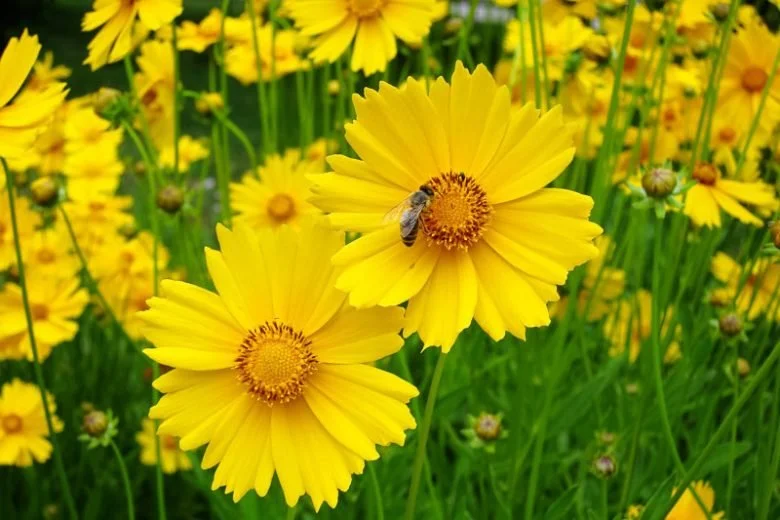
The native plant that I chose to grow was the Lance-leaf Coreopsis, as that was the plant that caught my interest for its lovely yellow flowers! Not only that, but when I wrote my first blog post on native perennial plants, the Lance-leaf Coreopsis was my first plant that I wrote about, so I wanted to learn more about it.
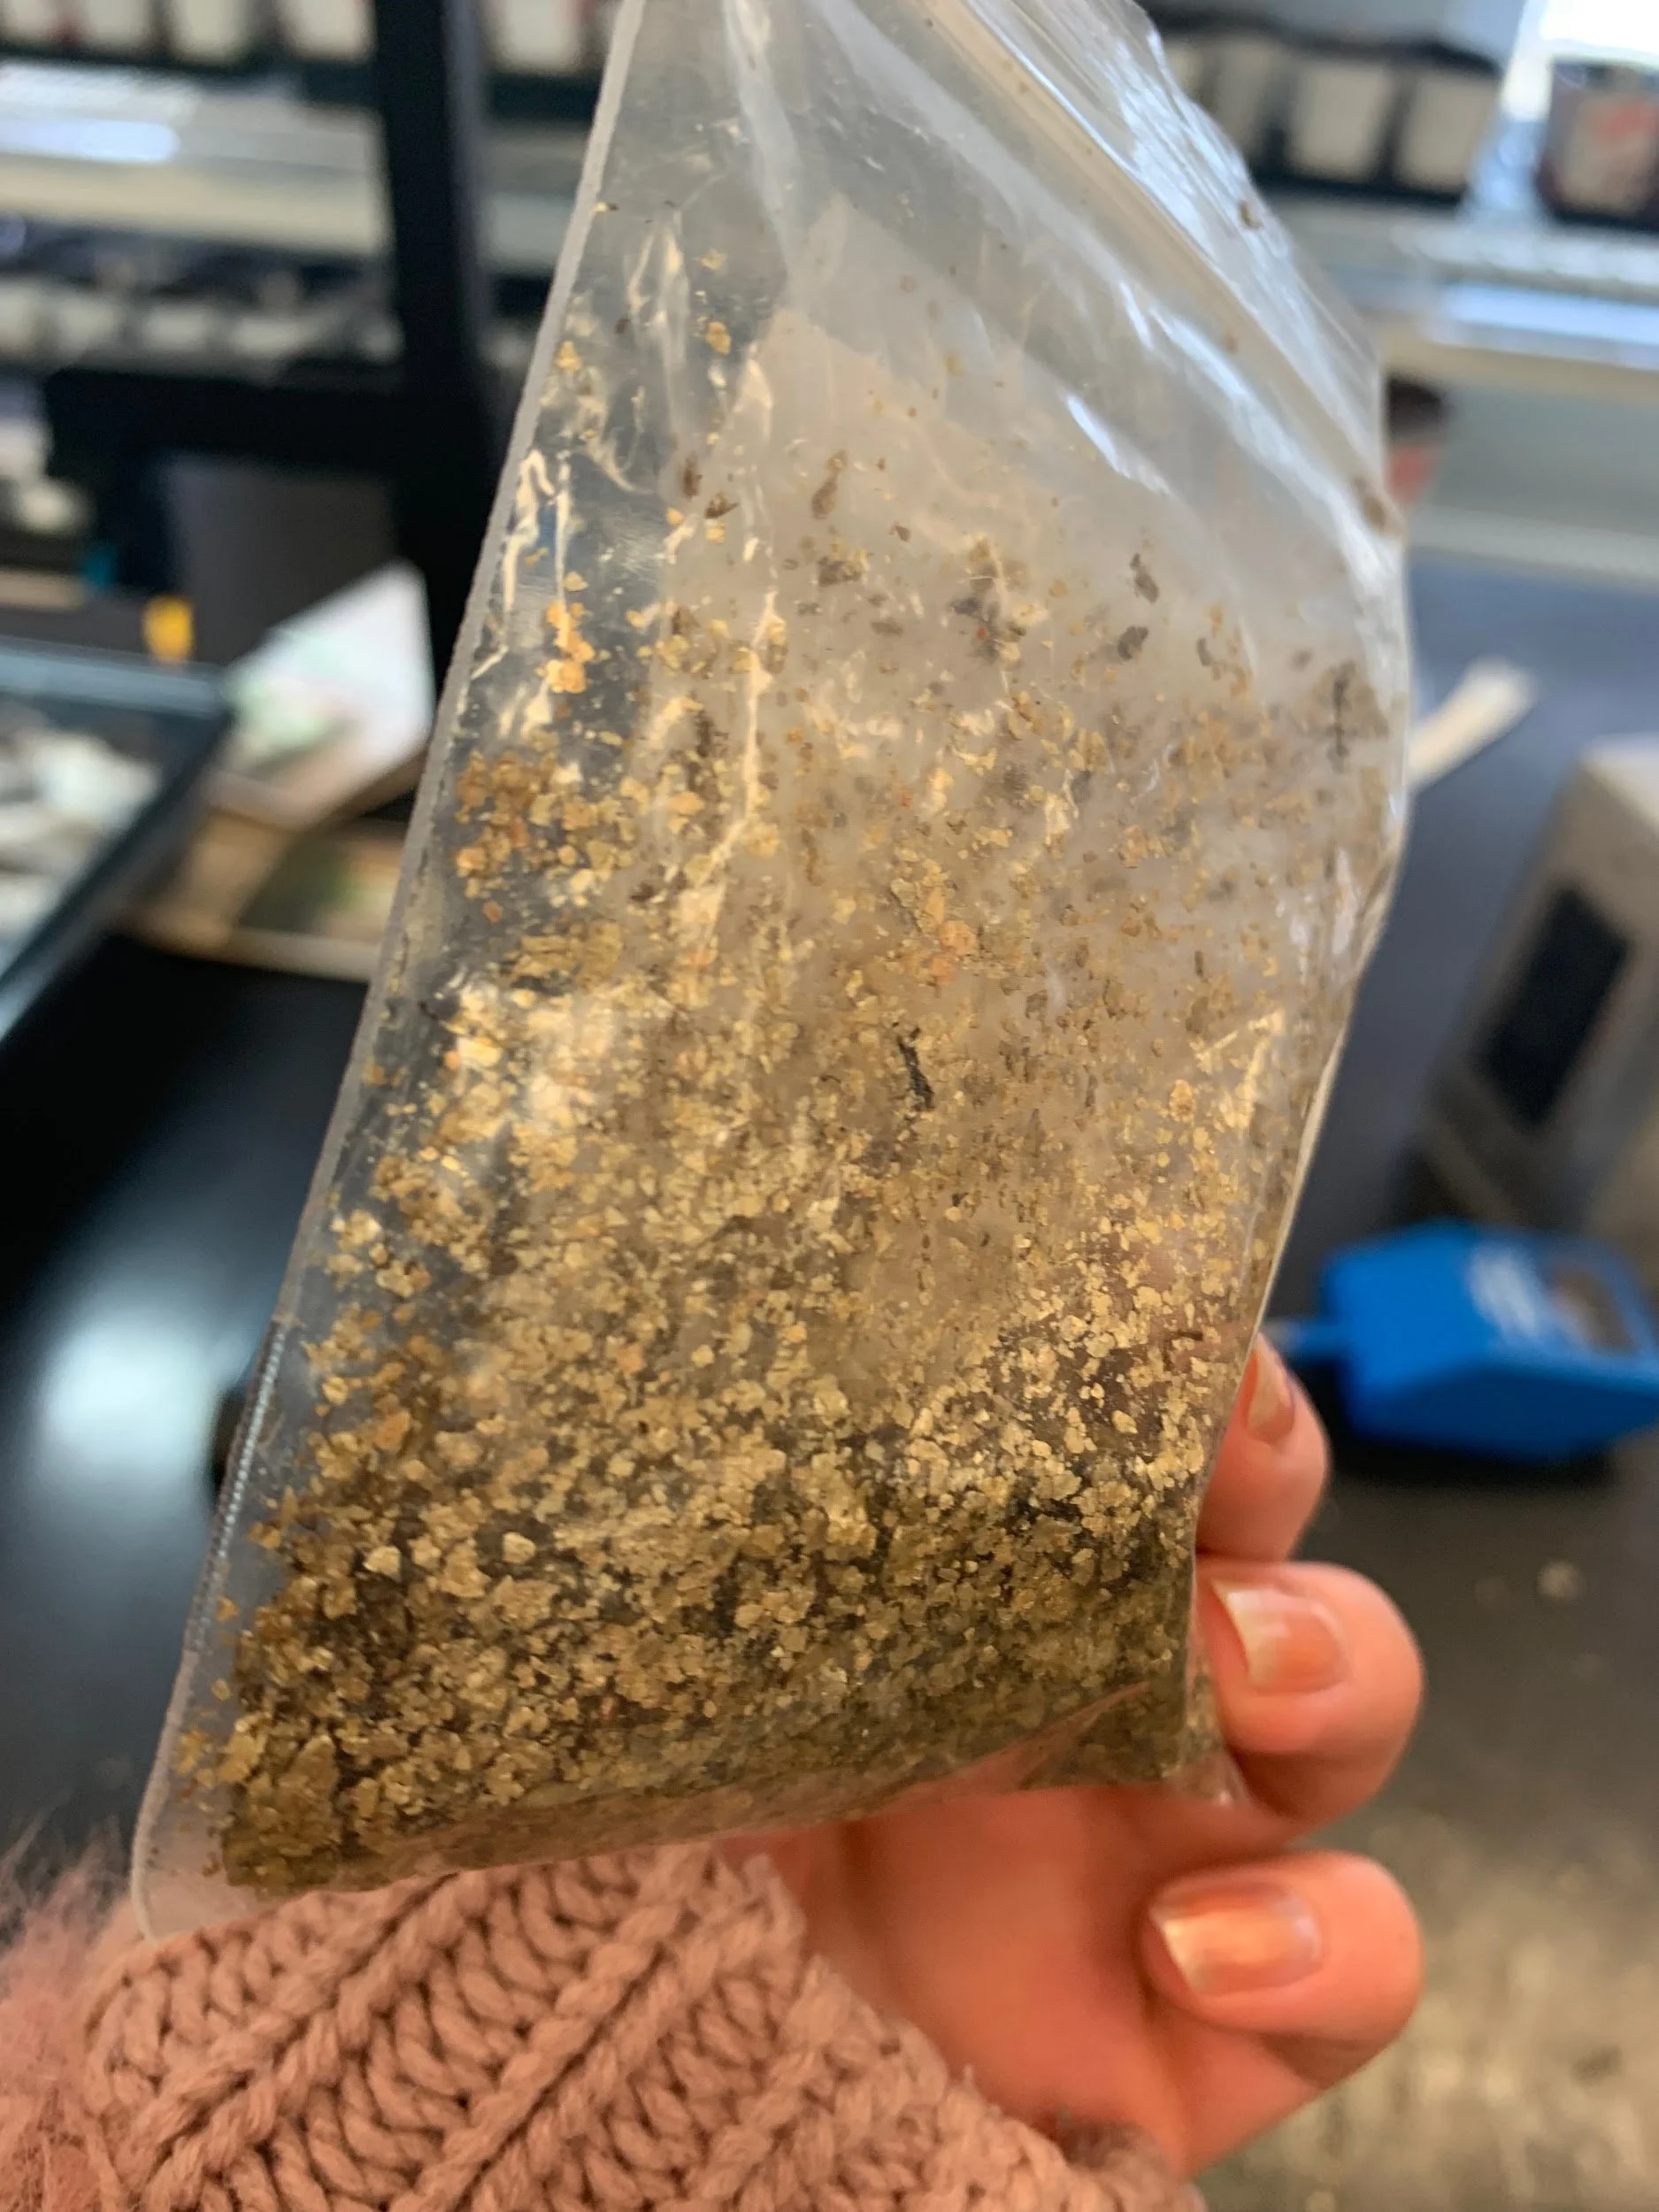
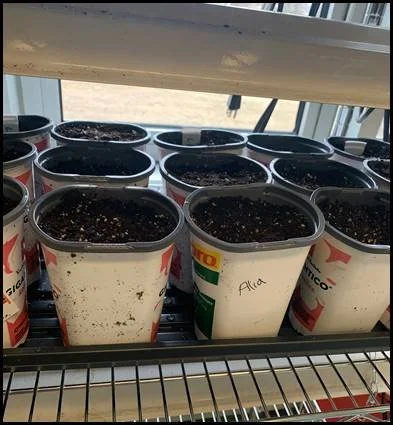
When we started planting the seeds into the pots, I noticed that the seeds of Lance-leaf Coreopsis are hard to find because they are surrounded by gold flakes of all sizes (vermiculite medium used to keep the seeds moist in the fridge), but I eventually found them! Since the Lance-leaf coreopsis is not a surface planted seed, I had to plant the seeds in small holes in groups of five (5 seeds per pot). This is because they do not take too much room, so I was able to plant that many in each pot. During my time caring for the plant, I learned a lot about what is best for the plant. For example, I learned that it is better for a plant to be watered well as a young plant, than to be completely dry, where it can’t absorb nutrients. I also learned a lot about the conditions that certain plants need to thrive. Based on the plant that I chose, I needed to place the plant in an area that receives full sun! This helps the plant grow nice and tall, yet straight, otherwise they would lean towards the sunny side.
Here is a picture of their seeds:
Here is a picture of the seeds inside of the mini-pots:
As the days went by, I had to start a proper routine of watering my plants daily with just enough water that will keep them growing, but not too much that they will grow moss and become weak. I ended up over watering them only on Friday’s, as it would be the weekend, meaning I wouldn’t be able to water them for another two days. Once I got into the routine, the plants grew even more!
At some point, they grew so much that I had to divide a few of them! I learned to slowly and carefully separate the soil that they were in so that the roots don’t snap, then put half of the plant in clean pots, while the other half remained in the same pot, then I finally added more soil and water it. With this knowledge, I will be able to control the plants that are growing in my home, preventing further propagation.
Once the time was close to send the plants to OSEAN, we placed all of our pots full of wonderful plants outside, so that they would get used to the weather and the environment! I learned that every plant prefers to be in a specific environment, especially the place where they are normally used to, so it's important that before you completely move a plant outdoors, to leave it outside for a few hours a day, just so that the transition from indoors to outdoors will be easier!
This is the end of this blog post! Hopefully you learned something from my experience with the Pollinator Patch Program as a student, and got inspired to plan your own native plant garden today!
If you want to design your own garden, check the OSEAN blog next Monday for my next post with some of the favourite plants from the pollinator patch program.


